The Flat Roofing Shop
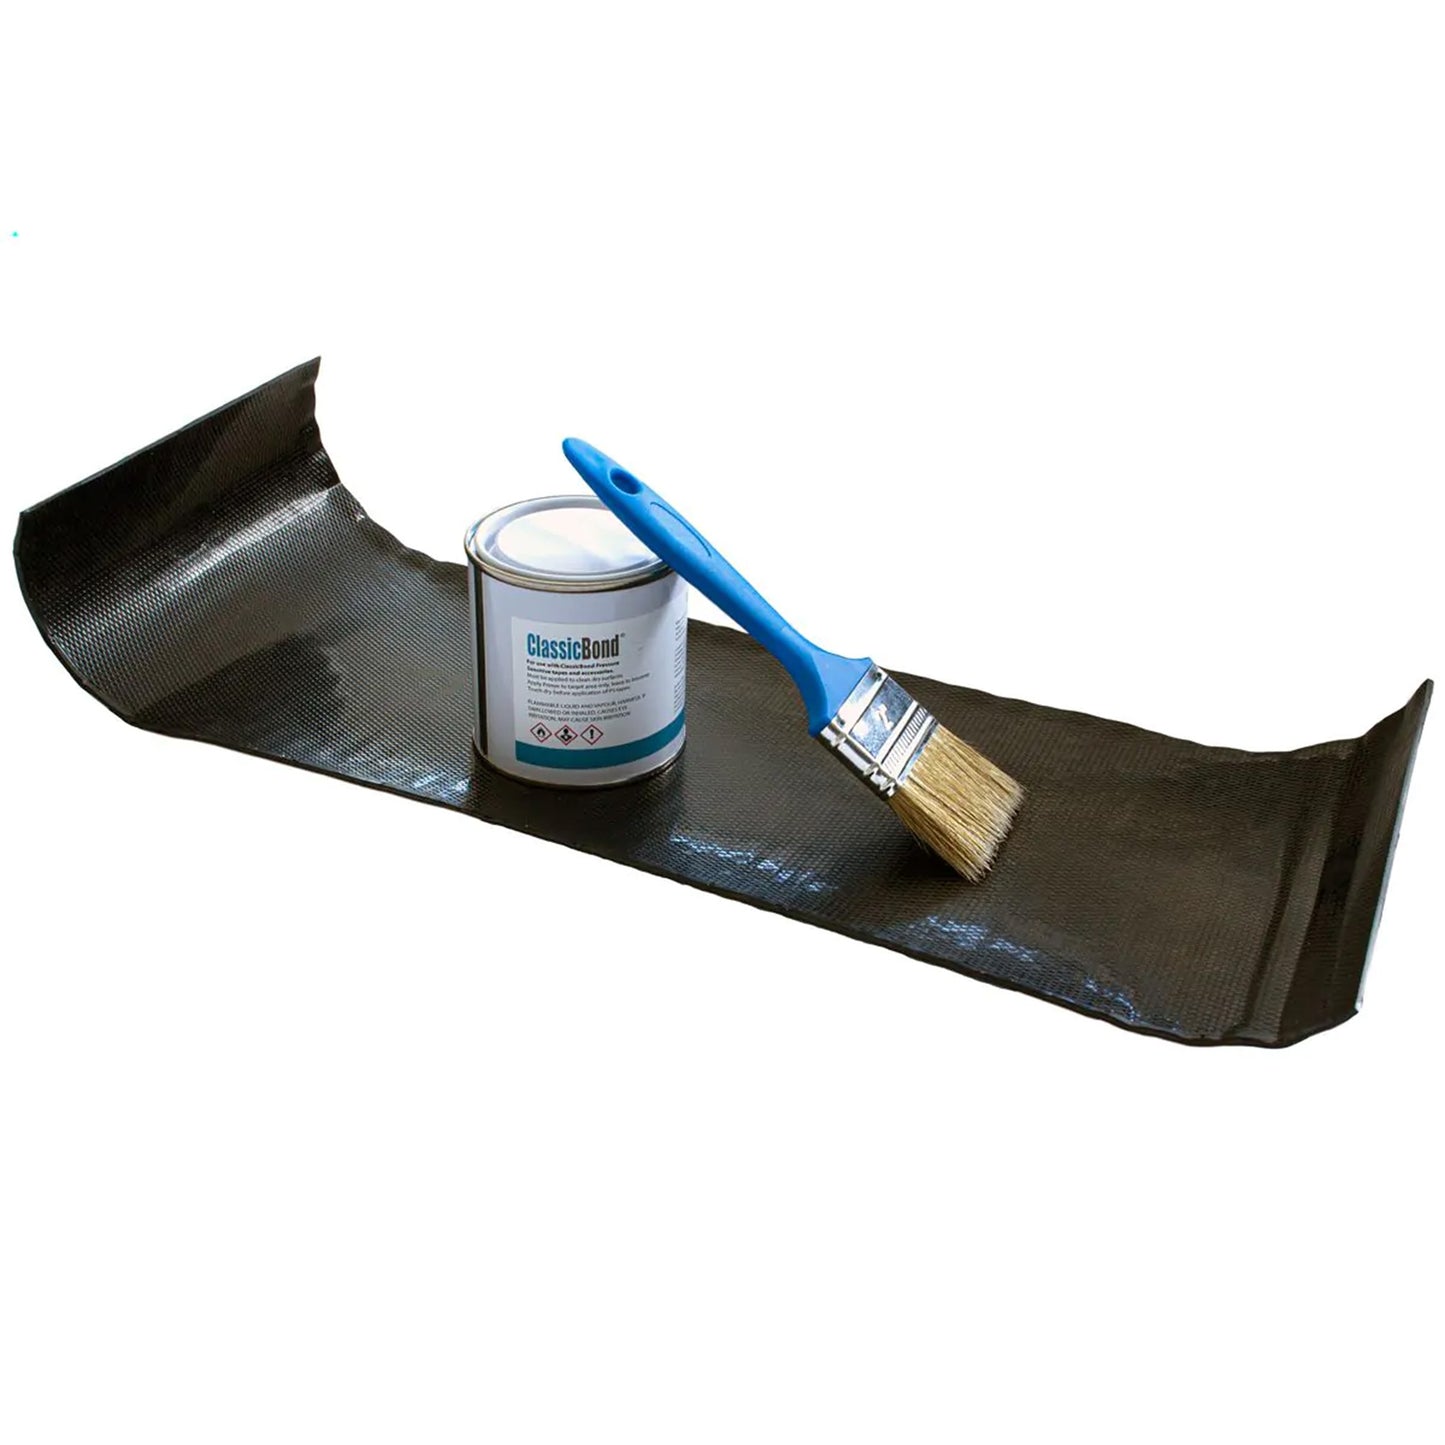
ClassicBond EPDM Rubber Roof Repair Kit
ClassicBond EPDM Rubber Roof Repair Kit
Couldn't load pickup availability
EPDM Patch Kit for Flat Roof Repairs
The ClassicBond EPDM Repair Kit provides a simple, professional solution for repairing minor damage to EPDM rubber roofing membranes, including small cuts, punctures and tears.
Designed for use on ClassicBond and compatible EPDM membranes, this kit allows you to carry out a long-lasting repair without replacing large sections of roofing.
When installed correctly, the patch becomes part of the membrane and is designed to last for the remaining life of the roof.
Key Benefits
- Designed specifically for EPDM rubber roofing
- DIY-friendly and straightforward to install
- No specialist tools required
- Long-lasting repair solution
- Cost-effective alternative to full membrane replacement
When to Use This EPDM Repair Kit ▸
This repair kit is suitable for:
- Small punctures
- Minor tears
- Accidental tool damage
- Small splits or cuts in an EPDM membrane
For larger structural damage or widespread membrane failure, a more extensive repair may be required.
Why Proper Overlap Matters ▸
For a reliable repair, the patch must extend at least 3 inches (75mm) beyond the damaged area in all directions.
This ensures:
- The weak edges of the tear are fully covered
- The patch bonds to sound membrane
- Water cannot track beneath the repair
Insufficient overlap is one of the most common causes of failed EPDM repairs.
What’s Included in the Kit ▸
Each ClassicBond EPDM Repair Kit contains:
- 0.5 metre of 6″ EPDM Cover Tape
- 1 × 250ml ClassicBond EPDM Primer
- 1 × Brush for primer application
Everything required to complete a standard small EPDM repair is supplied.
For larger repairs, longer lengths of 6" cover tape and primer are available separately.
How the Repair Is Carried Out (Simple Overview) ▸
- Clean the area thoroughly (use EPDM cleaner or warm soapy water)
- Allow the membrane to dry completely
- Position the cover tape over the damaged area and mark around it
- Apply EPDM primer evenly within the marked area. Overlap the mark slightly to ensure full coverage of the tape
- Allow primer to become touch dry (typically 5–10 minutes)
- Remove the backing and apply the cover tape (adhesive side down)
- Roll firmly using a seam roller to ensure full contact
Proper surface preparation and firm rolling pressure are essential for a successful repair.
Why This Is Better Than Temporary Sealants ▸
Using silicone or generic roof sealants on EPDM often leads to:
- Poor adhesion / compatibility issues
- Short-term fixes
- Further membrane damage
This kit uses pressure-sensitive EPDM cover tape and primer, which chemically bonds to the membrane and forms a compatible, long-term repair.
A Roofer’s Perspective ▸
Most EPDM damage is small and localised. The key is preparing the surface properly and ensuring the patch extends well beyond the tear.
Used correctly, EPDM cover tape and primer create a permanent repair that performs like the original membrane.
Share